
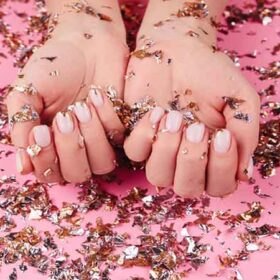
Polka dot nails are easy to do and perfect for those new to nail art. Chic and quick to realize, dotted nail art adds a touch of glamor to your look. Here are some tips for succeeding.
Polka dot nails: the explanation
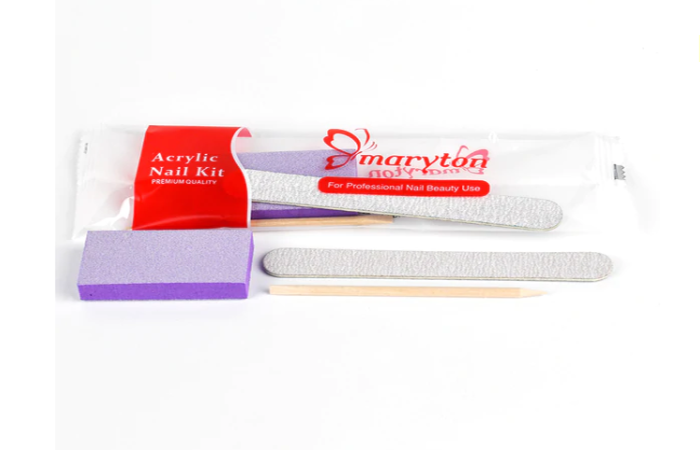
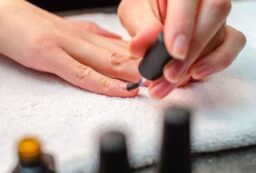
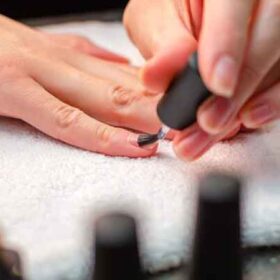
To make polka dot nails, all you need is: two nail polishes, a top coat, a dotting tool, and a bit of skill! The manicure begins with the application of the base coat. Once it is dry, put a few drops of the second varnish on a palette and use your dotting tool to put the dots on your nails. Be careful, it is possible that the varnish of your palette dries and that you have to add more. Finally, finish the manicure with a coat of top coat varnish which will protect your nails and make your nail art last longer.
Polka dot nails: extra tips
Those who are new to nail art may not yet have all the tools of the pros. Just have a look at our Maryton website, which has a lot of manicure supplies. Depending on the thickness of the desired dots, you can use a cotton swab, a toothpick or even the tip of a bun clip. The key to successful nail art with polka dots is to do a clean job, with polka dots sufficiently spaced so that they don’t touch each other. You can also add color and use more than one polish for laying the dots.
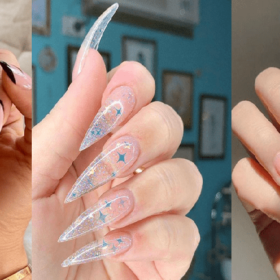
Obviously, this is only an example and there are a multitude of ways to obtain an amazing result! Ready to launch? We’re full of inspiration with the most beautiful nail art!
Read also: NAIL ART: HOW TO MAKE SAILOR NAILS


Leave a Reply