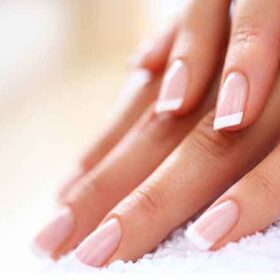
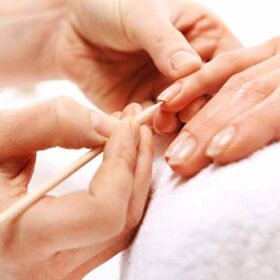
We showed you a short time ago how to file an oval nail. Now here is a tutorial to learn the 9 steps to filing gel nails. Keep reading!
Equipment:
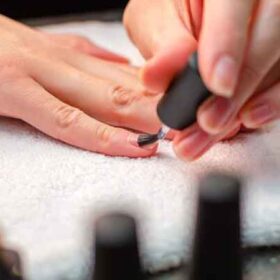
- A nail file, grit 100-180
- A nail buffer block
The steps to make an oval nail
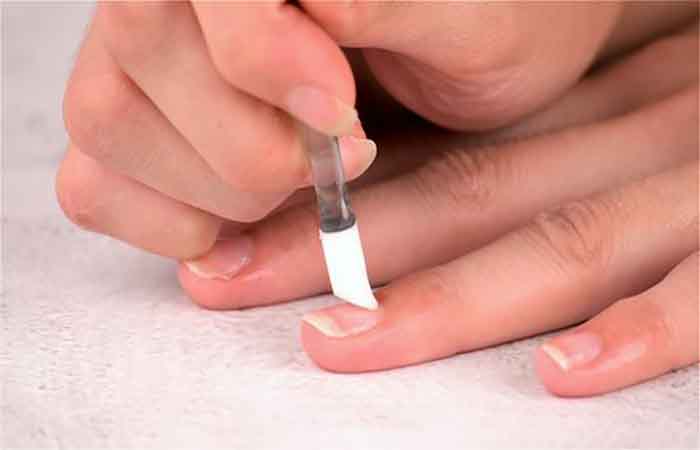
- File the free edge of the nail from left to right.
- File the sides of the nail, to have two parallel sides.
- File the sides, near the limit of the free edge, to remove the excess gel and have the sides straight.
- File the surface of the nail at an angle, always from the outside to the inside.
- File the surface of the nail from the free edge towards the center and vice versa.
- File the nail close to the cuticles to refine the transition between the nail and the covering, with rounded movements from right to left then from left to right.
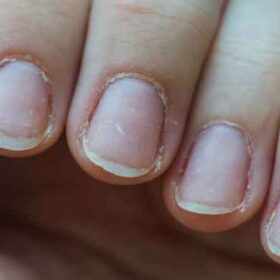
- If the nail is still a little thick, has imperfections or the stress point is not in the right place, repeat the previous steps.
- Pass a block on the surface of the nail and the free edge to remove traces of filing.
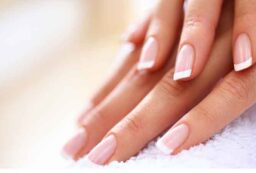
- Finish with a top coat or color gel polish
Read also: UV gel extension on bitten nails


Leave a Reply