The key to any job is preparation! This also applies to the application of semi-permanent. Proper preparation of your nails ensures that your manicure will look better and last longer. In this blog, your nail supply expert Maryton will tell you how to prepare your nails.
To make it easier for you, we have detailed each step! All you have to do is follow the instructions to get the perfect manicure.
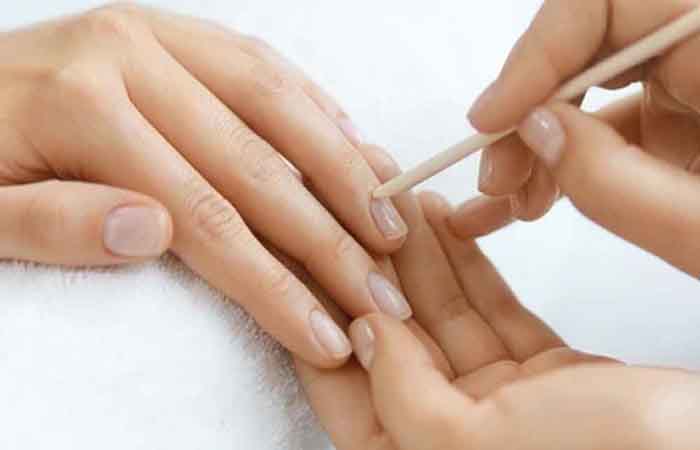
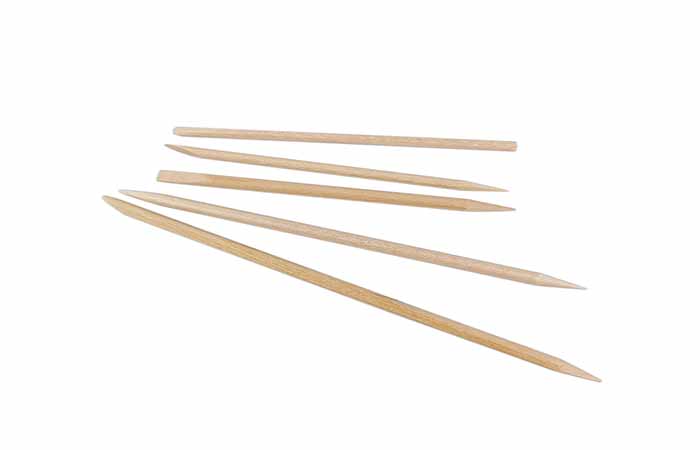
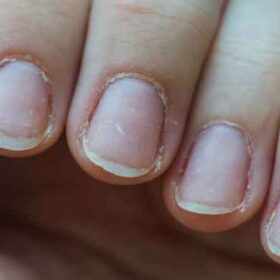
Step 1: Prepare the cuticles
Use a cuticle pusher to gently push back your cuticles. Then, gently go under the cuticle with the pointed side to remove dead cells. This will give you a larger surface to paint your nails.
10000 PCS $399.00
Step 2: Shape your nails
Choose the shape that suits you and file your nails. It is important to file each time from the side of the nail towards the center. Be careful not to file them too much to prevent your nails from becoming too thin.
Step 3: Clean your nails
Don’t forget to clean your nails. This will ensure that there is no greasy film, residue or dead skin. The best way to clean your nails is to use the cleansing wipes.
6000 PCS $690.00
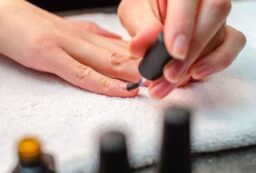
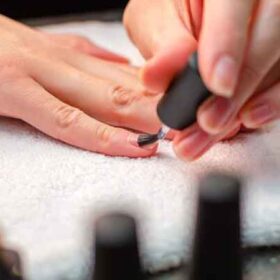
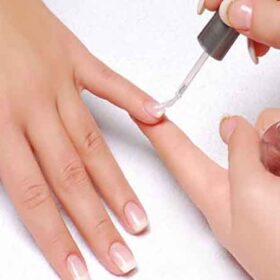
Step 4: Prepare your nails
Allow the primer to air dry completely. Make sure you don’t touch your nails now, so you have a good clean base to apply the Varnish.
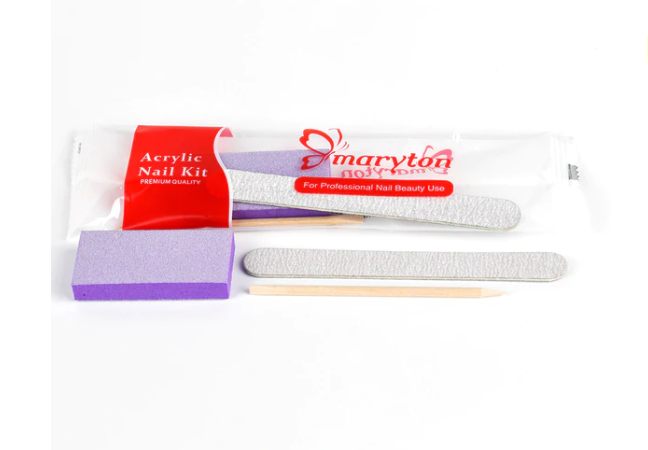
To get all the necessary equipment, I advise you to invest in a complete manicure kit!
Read also: What is the difference between nail polish and semi-permanent varnish?


Leave a Reply